How to scan paper to PDF with a phone and get a clean result

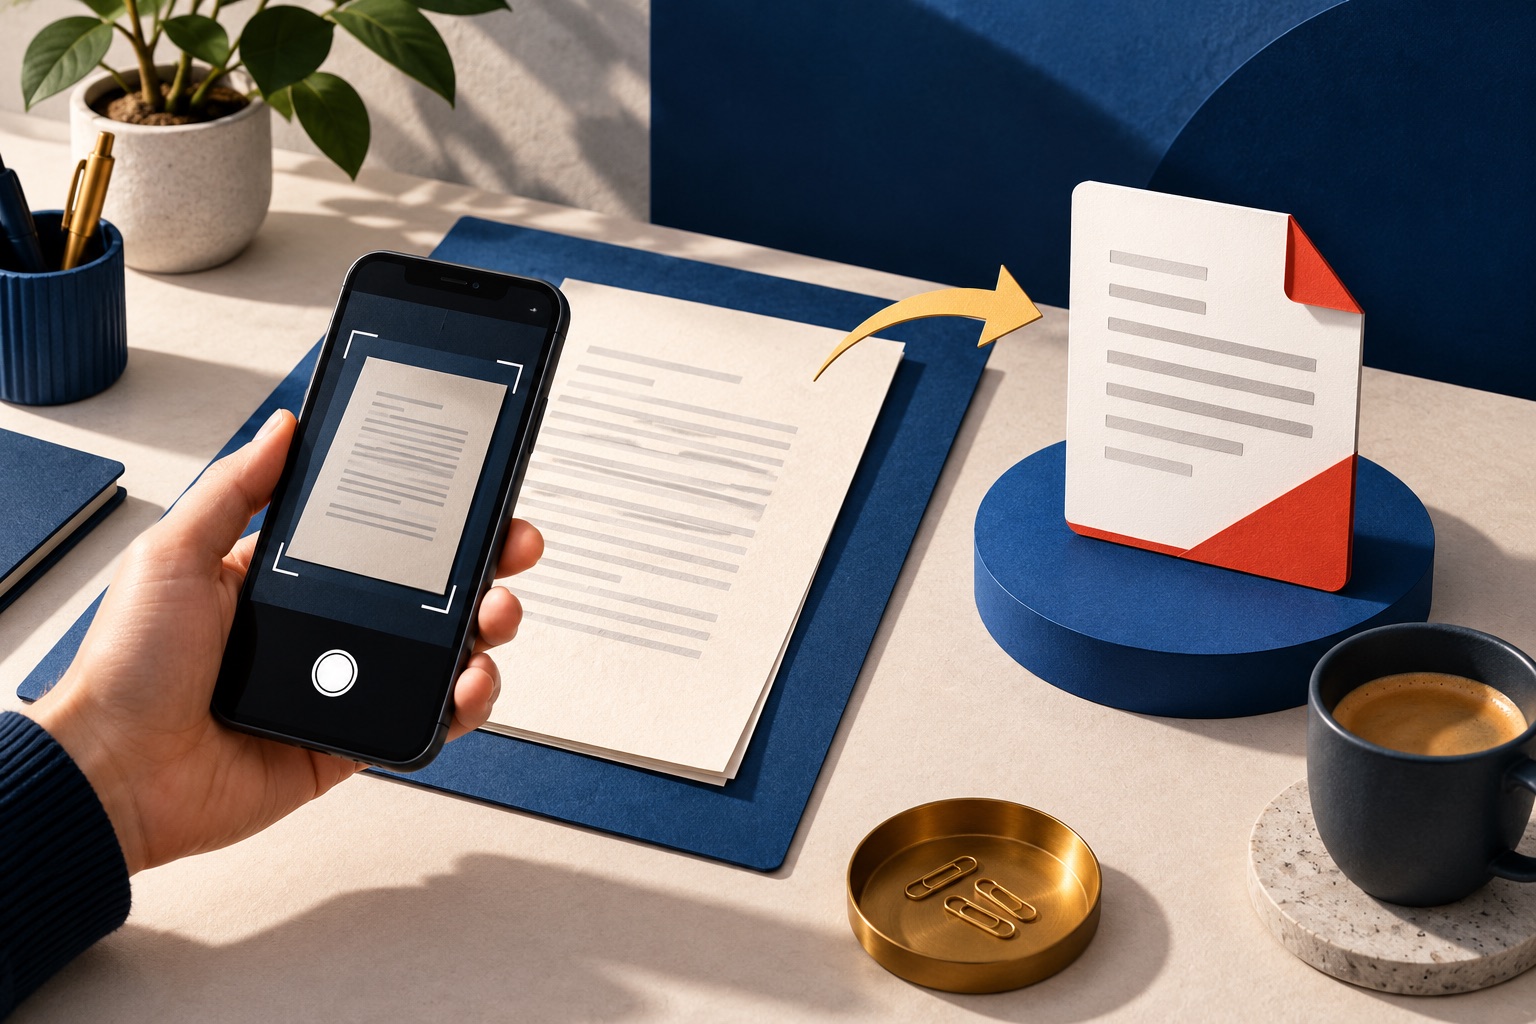
Lay the page flat under even light, hold the phone directly above it and parallel to the paper, and let the page fill the frame. Then crop each photo to the page edges and save them as one PDF. Geometry and lighting decide the result; no amount of processing afterwards recovers a shadowed, tilted photo.
See the tools in action

A flatbed scanner does three things a phone does not: it holds the page perfectly flat, lights it evenly across its whole surface, and looks at it dead straight. Every bad document photo you have ever taken failed at one of those three. Fix the geometry and the light at the moment you press the button and the software has almost nothing left to do. Get them wrong and no contrast slider will save you, because the information is not in the photograph.
Reading a bad page photo backwards to its cause
| What you see | Cause | Fix |
|---|---|---|
| The page is a trapezium, wider at the bottom | The camera was tilted rather than parallel to the page | Hold the phone flat above the page, centred on it, screen parallel to the paper |
| A grey band down one side | Your own head and shoulders are between the light and the paper | Turn ninety degrees so the light crosses the page rather than coming over your shoulder |
| A bright blob in the middle | Flash, or a ceiling light bouncing off coated paper | Flash off, and move the light source to one side |
| Sharp at the top, soft at the bottom | The phone was close and angled, so only part of the page was in the focal plane | Step back, raise the phone, tap the middle of the page to focus |
| Curved lines near the spine | A bound book that will not lie flat | Press the page down at the gutter, or photograph one page at a time with the book fully open |
| Grey, muddy background instead of white | Low light, so the camera raised its sensitivity and added noise | Add light rather than brightening the photo afterwards |
| Bowed edges on a page that was flat | The ultra-wide lens and its barrel distortion | Switch to the main 1x camera |
Taking the photos
- Clear a flat, matt surfaceA wooden table beats a white one, because the contrast at the edge is what the crop tool looks for. Weigh down curled corners with a coin at each side, placed outside the printed area.
- Get the light across the pageDaylight from a window with the window to your left or right, never behind you. Two lamps at opposite sides beat one lamp anywhere. Flash off, always: a phone flash sits next to the lens, so it puts its brightest spot exactly where you are looking.
- Stand over the page, not beside itHold the phone directly above the centre with the screen parallel to the paper. A quick test: if the top edge of the page looks longer than the bottom edge on screen, you are tilted. Straighten until they match.
- Fill the frameLet the page fill the frame with a thin margin of table visible all round. An A4 page at 300 DPI is 2480 by 3508 pixels, about 8.7 megapixels, so a 12 megapixel camera clears it comfortably. Held at twice the distance you get a quarter of the pixels on the page, and OCR starts guessing.
- Shoot every page the same wayDo not move the light or change your height between pages. Consistency means one contrast setting works for the whole document instead of twenty individual adjustments.
- Build the PDFOpen scan to PDF, add the photos in page order, crop each one to the page edges, then set contrast and colour mode. Save the lot as a single PDF.
Turn photos of paper into one clean PDF, entirely in your browser.
Scan to PDF →Scan to PDF runs inside your tab. The photos never leave your computer, no account is needed, and closing the tab is the same as shredding the working copy. That matters more than usual here, because the documents people scan tend to be passports, payslips, medical letters and contracts.
Colour, grey, or black and white
This single choice decides both how readable the page is and how big the file is. The rough per-page sizes below assume a full A4 page captured at about 300 DPI.
| Mode | Best for | Rough size per A4 page |
|---|---|---|
| Black and white | Clean printed text, typed letters, forms, anything laser-printed | 20 to 60 KB |
| Greyscale | Pencil notes, faint carbon copies, old typewriter pages, photographs of type | 150 to 400 KB |
| Colour | Stamps, signatures in coloured ink, highlighting, anything where the colour is part of the evidence | 400 KB to 1.5 MB |
Black and white looks the cleanest and is a one-way door. Thresholding decides pixel by pixel whether something is ink or paper, and a faint pencil annotation or a pale blue stamp simply falls on the paper side and disappears. If a page has anything faint on it that matters, keep the greyscale version instead. You can always threshold later; you cannot un-threshold.
Making the scan searchable
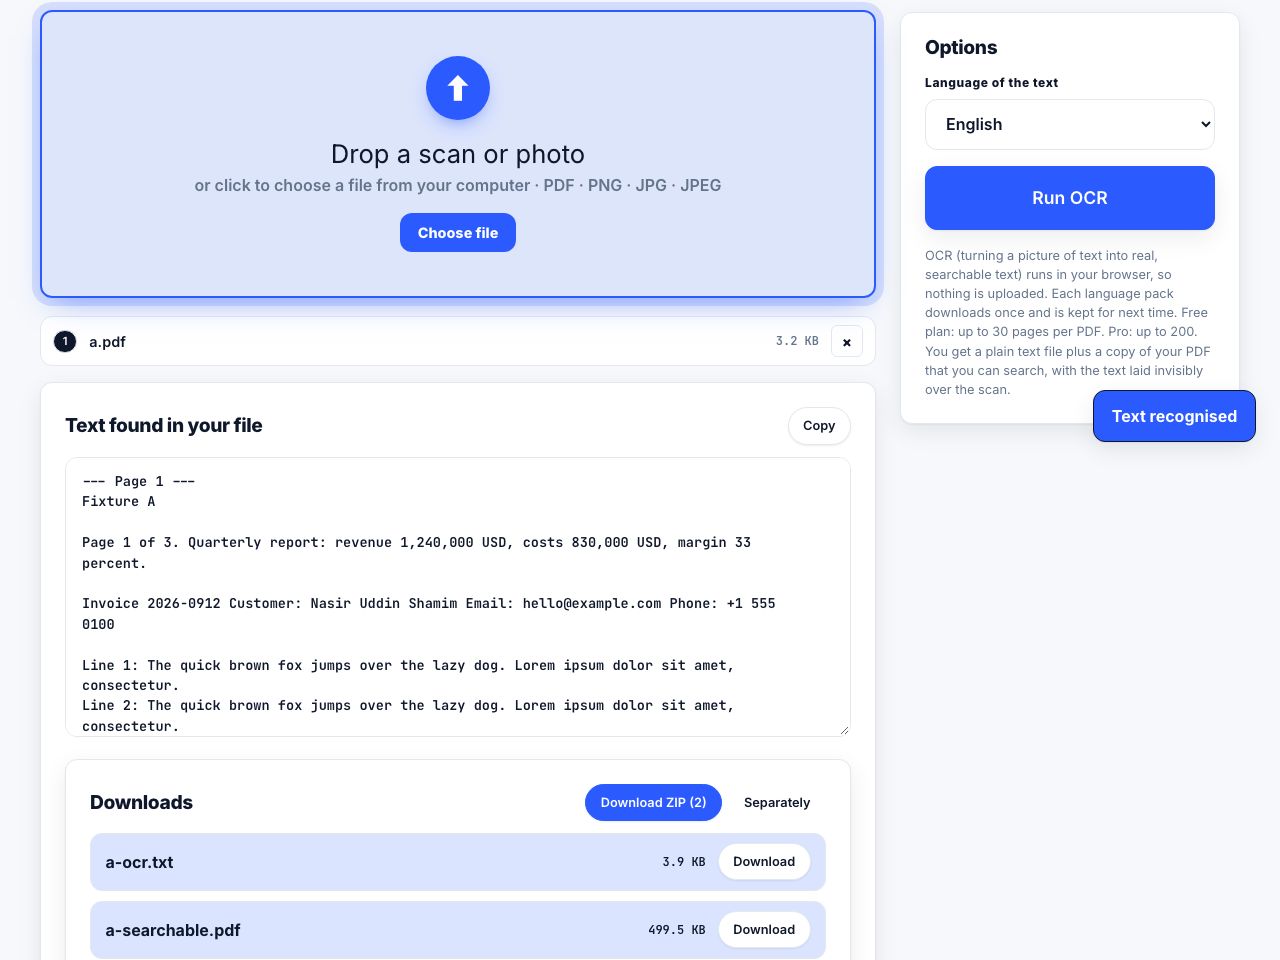
A finished scan is still just pictures of pages. Search it and you get nothing, because there is no text in the file to find. OCR reads the shapes and writes an invisible text layer underneath the image, so the page still looks like the paper but the words are now selectable and searchable. It runs in your browser too, so the document does not go anywhere.
The full walkthrough is in how to OCR a scanned PDF, and if the results come back patchy, improving OCR accuracy explains what to change. Almost every fix in that guide is a capture fix: straighter, brighter, higher resolution. OCR quality is decided before you take the photo.
What a phone still cannot do
- Tightly bound books. Text runs into the gutter and curves away from the lens. A phone can get you a readable page but not a straight one, and OCR accuracy drops sharply in the curved centimetre.
- Glossy and laminated pages. The surface is a mirror. You can move the reflection around but you cannot remove it without a polarising filter.
- Very faint or damaged originals. Thermal receipts that have gone blank, water-damaged pages, foxed paper. A scanner with real control over exposure will beat a phone here.
- Anything larger than about A3. Fill the frame with a plan or a poster and you are at 100 DPI or less. Photograph it in overlapping sections instead.
- Accurate colour. Phone cameras are tuned to make photographs look nice, not to reproduce a specific shade. If the exact colour is the point, you need a scanner and a colour target.
- Thin paper printed both sides. The reverse shows through. Slide a sheet of black card behind the page and the show-through mostly disappears.
Once the scan is straight, readable and searchable, decide where it is going. If it is a personal reference copy, you are finished. If it is going into a records system, a court bundle or a university deposit, convert it to the archival format afterwards: what PDF/A is explains which level to ask for and why a scan needs OCR before it is worth archiving at all.
Frequently asked questions
What resolution do I need to scan a document?
Aim for the equivalent of 300 DPI, which for an A4 page means about 2480 by 3508 pixels, or 8.7 megapixels. Any modern phone camera exceeds that if the page fills the frame. Below roughly 200 DPI, OCR accuracy falls off quickly on normal body text.
Why do my scanned pages have a grey shadow across them?
You are standing between the light and the paper. Move so the light comes across the page from the side rather than over your shoulder, or use two lamps at opposite sides of the page so neither can be blocked.
Should I use my phone flash when photographing a document?
No. The flash sits right next to the lens, so it throws its brightest spot into the middle of the frame, exactly where the text is. Use daylight or a lamp placed off to one side.
How do I scan a book without breaking the spine?
Open the book fully, press the page flat at the gutter with your thumb outside the text area, and photograph one page at a time rather than a two-page spread. Expect the centimetre nearest the spine to be curved and to OCR poorly.
Is it safe to scan a passport or a payslip in a browser tool?
With a browser tool the images are processed inside your own tab and never uploaded, so the document does not leave your computer. Check what any tool you use actually does with the file before you feed it identity documents.