How to compress an image without it looking wrecked

Drop the picture into a compressor, lower the quality setting until the preview starts to look soft, then step back one notch and download. Quality around 75 to 80 removes most of the file size and little of the detail. If the image is bigger than it needs to be on screen, cutting its pixel dimensions saves far more than any quality slider.
See the tools in action


There are only two ways to make an image file smaller, and they are not equal. You can keep the same number of pixels and describe each one less precisely, which is what a quality slider does. Or you can keep fewer pixels, which is what resizing does. Most people reach for the first and ignore the second, which is backwards: resizing usually wins by a much larger margin and costs nothing visible.
What the quality number actually means
A JPG quality setting is not a percentage of anything you can see. It controls how aggressively the encoder rounds off fine variation, mostly in areas where the eye is bad at noticing. The relationship between the number and the file size is steep at the top and flat in the middle, which is why the first few notches are nearly free.
| Quality | File size | What you see |
|---|---|---|
| 100 | 4.6 MB | Indistinguishable from 95, at nearly double the size. Never worth it |
| 90 | 1.9 MB | Visually identical to the original for any normal use |
| 80 | 1.1 MB | The sweet spot. You would need to zoom in and hunt to find a difference |
| 70 | 780 KB | Fine on screen. Slight softening in fine texture such as hair or foliage |
| 50 | 480 KB | Visible blocking in flat areas like a clear sky. Acceptable for a thumbnail |
| 30 | 300 KB | Obvious mush. Only for a placeholder you intend to replace |
The lesson is the shape of that column, not the exact numbers. Going from 100 to 80 removed three quarters of the file and nothing you can see. Going from 80 to 50 removed another half and made the picture visibly worse. Stop where the curve flattens.
Resizing is the bigger win
File size scales with the number of pixels, and pixel count scales with the square of the dimensions. Halve the width and the height and you are storing a quarter of the pixels before compression even starts. That 4032 by 3024 photograph is 12.2 million pixels. A full-width image on a web page rarely needs more than 1600 pixels across, which is 1.9 million pixels, six times fewer.
| Where it is going | Long edge | Typical size at quality 80 |
|---|---|---|
| Email attachment or chat message | 1600 px | 250 to 400 KB |
| Full-width image on a web page | 1600 to 2000 px | 300 to 600 KB |
| Blog thumbnail or profile picture | 600 px | 60 to 90 KB |
| Uploaded to a form with a 2 MB cap | 2000 px | Comfortably under 500 KB |
| Printed at 6 by 4 inches | 1800 px | 900 KB to 1.5 MB, and keep quality at 90 |
Do both, in this order: resize first, then compress. Resizing throws away pixels the destination was never going to show, and compressing what is left is much more effective than compressing the full-size version. The reverse order wastes the compression work entirely.
Compressing, step by step
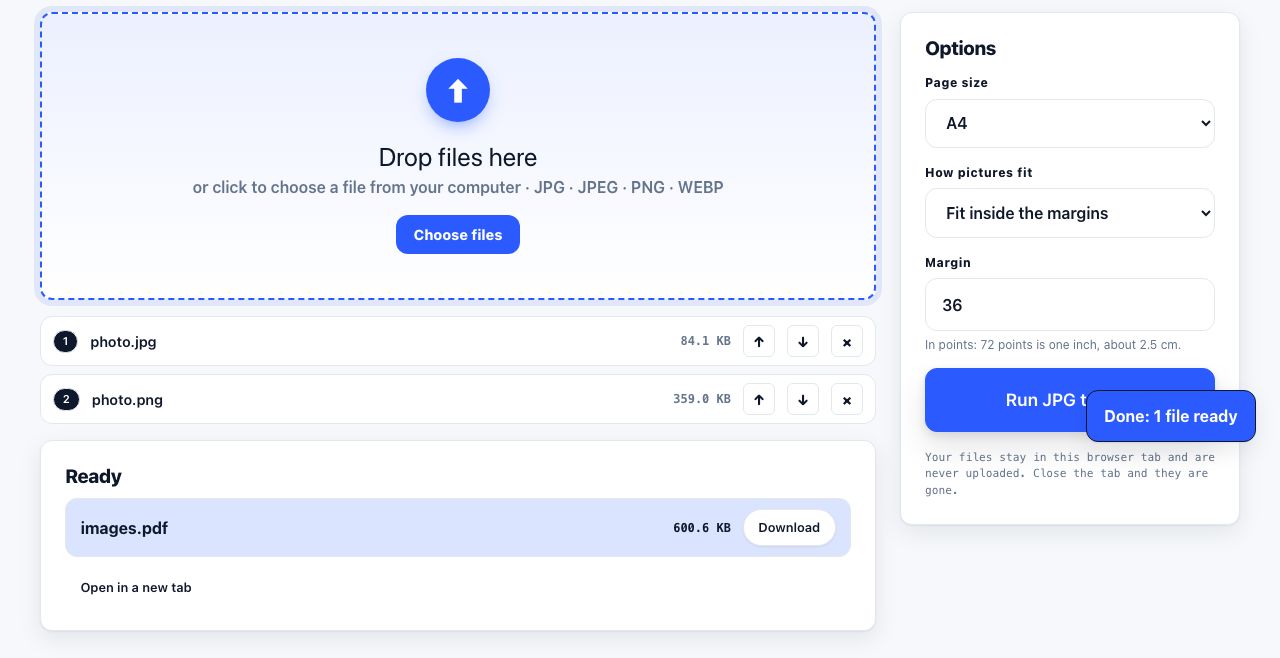
- Open the compressorGo to compress image and drop the picture in. It is processed inside your browser tab, so the photo is never uploaded anywhere and there is no usage limit to worry about.
- Set the dimensions firstIf the long edge is larger than the table above suggests, bring it down. This is the change that does the heavy lifting.
- Lower the quality until it looks softDrag down and watch the preview at full size, not the thumbnail. When you first notice softening, go back one notch. For most photographs you will land between 75 and 85.
- Check the number, not the feelingCompare the before and after sizes. If you needed under 2 MB and you are at 1.1 MB, stop. Squeezing further is free damage.
- Download and keep the originalSave the compressed copy under a new name. Never overwrite the source, because the next time someone asks for a bigger version you will want it back.
Shrink a photograph in your browser. Resize and compress in one pass, with nothing uploaded.
Compress Image →Why re-saving the same JPG keeps making it worse
Every time a JPG is decoded and saved again as a JPG, it is compressed again from scratch, on top of the damage from last time. This is called generation loss. Open, crop, save. Open, rotate, save. Open, adjust brightness, save. Three rounds of that on a quality 80 file and the sky has gone blotchy, even though you never touched the quality setting.
The habit that avoids it: keep one master file, make all your edits in one sitting, and export a JPG at the end. If you must edit repeatedly, work from a PNG and only convert to JPG for the final version. And never use a compressed copy as the starting point for the next job, which is the most common way a photograph ends up looking like a photocopy of a photocopy.
PNG is a different problem
PNG is lossless, so it has no quality slider to drag. It gets smaller in other ways: reducing the number of distinct colours it stores, stripping metadata, and choosing better internal filtering. A screenshot with a handful of flat colours can drop 60 or 70 percent from colour reduction alone with no visible change at all.
- A screenshot that is inexplicably huge is usually a Retina or high-DPI capture at double the pixels you need. Halve the dimensions and it will look identical on a normal screen.
- A photograph saved as PNG is not a compression problem, it is a format problem. Convert it to JPG or WebP and the file drops by 80 to 90 percent. See converting an image format.
- A logo or diagram should stay PNG. Pushing it into JPG to save 40 KB gives you fuzzy edges around every line, which is a bad trade on a file that small.
- Metadata rides along in both formats: camera model, lens, software, and often the GPS coordinates of where the photo was taken. Most compressors strip it, which shrinks the file slightly and removes the location, an accidental privacy win.
When the real problem is the email, not the image
If photos will not send, check the current sender and recipient limits before resizing them. Limits vary by service and account; encoding and message content can also affect delivery. If the service allows it, share a link instead of reducing an image so far that it is no longer useful.
If it is a set of pictures rather than one, two other routes beat compression. Pack them into a ZIP so they arrive as a single attachment, or combine them into one PDF if the recipient is going to look through them in order. For document attachments that are too big, reducing a PDF for email is the equivalent guide.
Frequently asked questions
What quality setting should I use for JPG?
Around 80 for most photographs. Going from 100 to 80 typically removes three quarters of the file size with nothing visible lost. Below about 60 you start seeing blocky patches in flat areas such as skies.
Does compressing an image lose quality?
JPG and lossy WebP do lose a little, permanently. PNG compression does not lose anything. The trick is to stop at the point where the file is small enough but the loss is still invisible, which for photographs is usually quality 75 to 85.
Why does my image get worse every time I save it?
Each save re-compresses the picture on top of the previous compression. That is generation loss. Edit once from a master file and export a single final JPG, rather than opening and re-saving the same JPG repeatedly.
Is it better to resize or to compress?
Resize first, then compress. Halving the width and height stores a quarter of the pixels, which beats any quality slider, and compressing the smaller version afterwards is far more effective than compressing the full-size one.
How do I get a photo under 2 MB?
Set the long edge to about 2000 pixels and the quality to 80. A typical phone photograph lands well under 500 KB that way, with no visible difference on any screen.